Template Definition Builder
The Template Definition Builder is the interface in Loopic where you define the data your graphic accepts and what happens when that data arrives, for the playout system of your choice.
Template Definition Overview
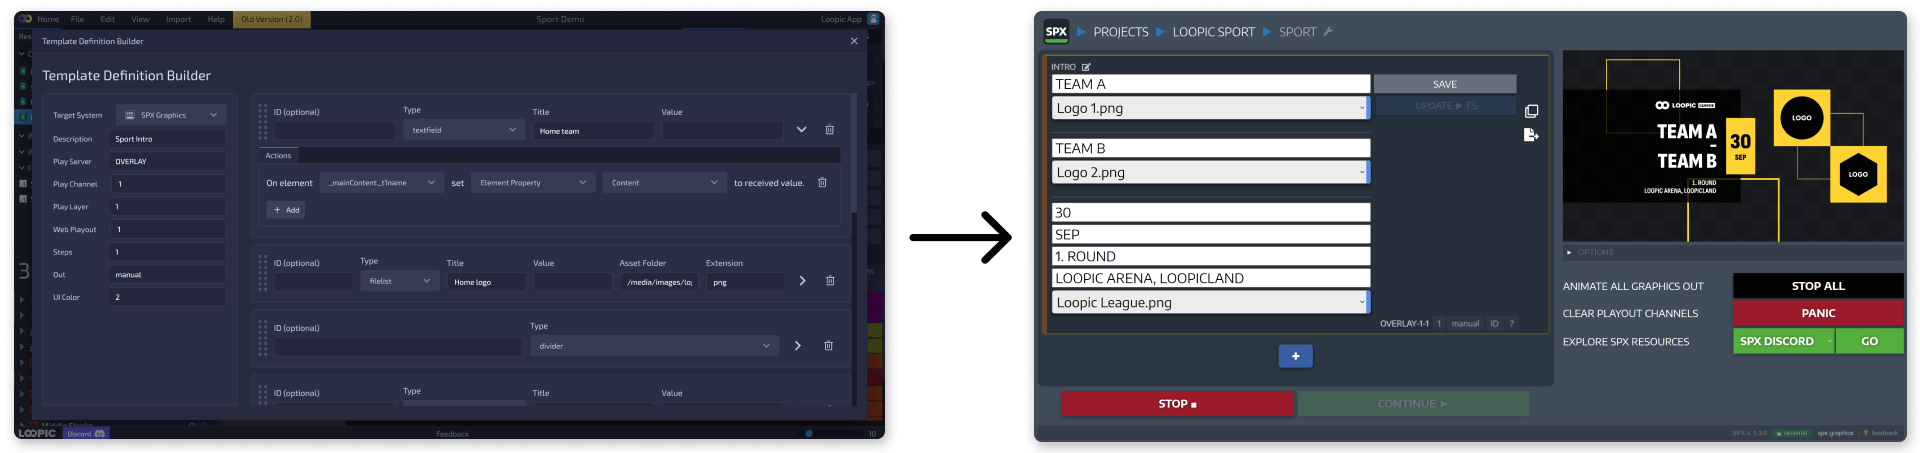
A template definition is the interface an HTML-based control or playout system needs to work with a graphic: to play it, stop it and send data to it. Loopic's Template Definition Builder creates template definitions for OGraf, CasparCG (GDD), SPX Graphics and LiveOS, so you don't have to write them by hand.
Control systems use the template definition to generate their user interface. For example, SPX Graphics builds the input form for a graphic from its template definition.
Opening the Template Definition Builder
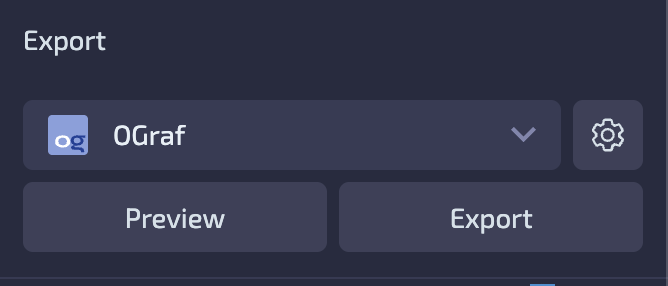
The Template Definition Builder is part of the Export panel, below the Inspector:
- Select your target system (OGraf, CasparCG, SPX Graphics or LiveOS) from the dropdown.
- Click the settings button (gear icon) next to the dropdown. The Template Definition Builder opens in a window over the editor.
When you click Preview or Export, Loopic includes the template definition you built for the selected system.
Each target system has its own template definition. Fields you define for OGraf don't appear when you switch to SPX Graphics, so build the definition for the system you're exporting to.
The Template Definition Builder Window
The window has two parts: the field list on the left and the Manifest panel on the right. Both change with the selected target system and only show options that system supports.
Manifest
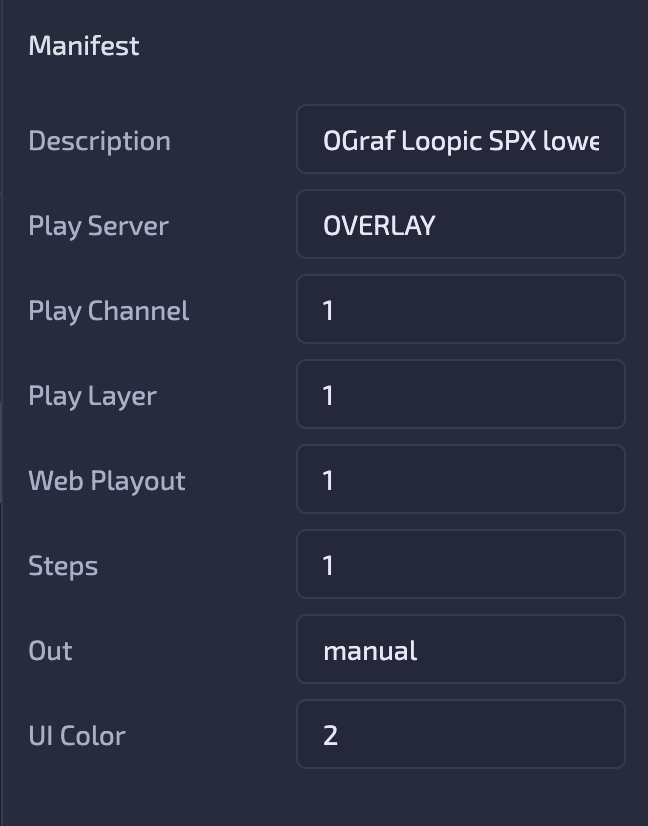
The Manifest panel holds properties of the whole graphic, such as its name and description. The available properties depend on the target system:
| Target system | Manifest properties |
|---|---|
| OGraf | Version, Name, Description, Author, Email, Author URL, Step count, Realtime support, Non-realtime support, Vendor |
| CasparCG | Title, Description |
| SPX Graphics | Description, Play Server, Play Channel, Play Layer, Web Playout, Steps, Out, UI Color |
| LiveOS | Name, Description, Z Index, Update manifest, Embed debug tools |
Fields
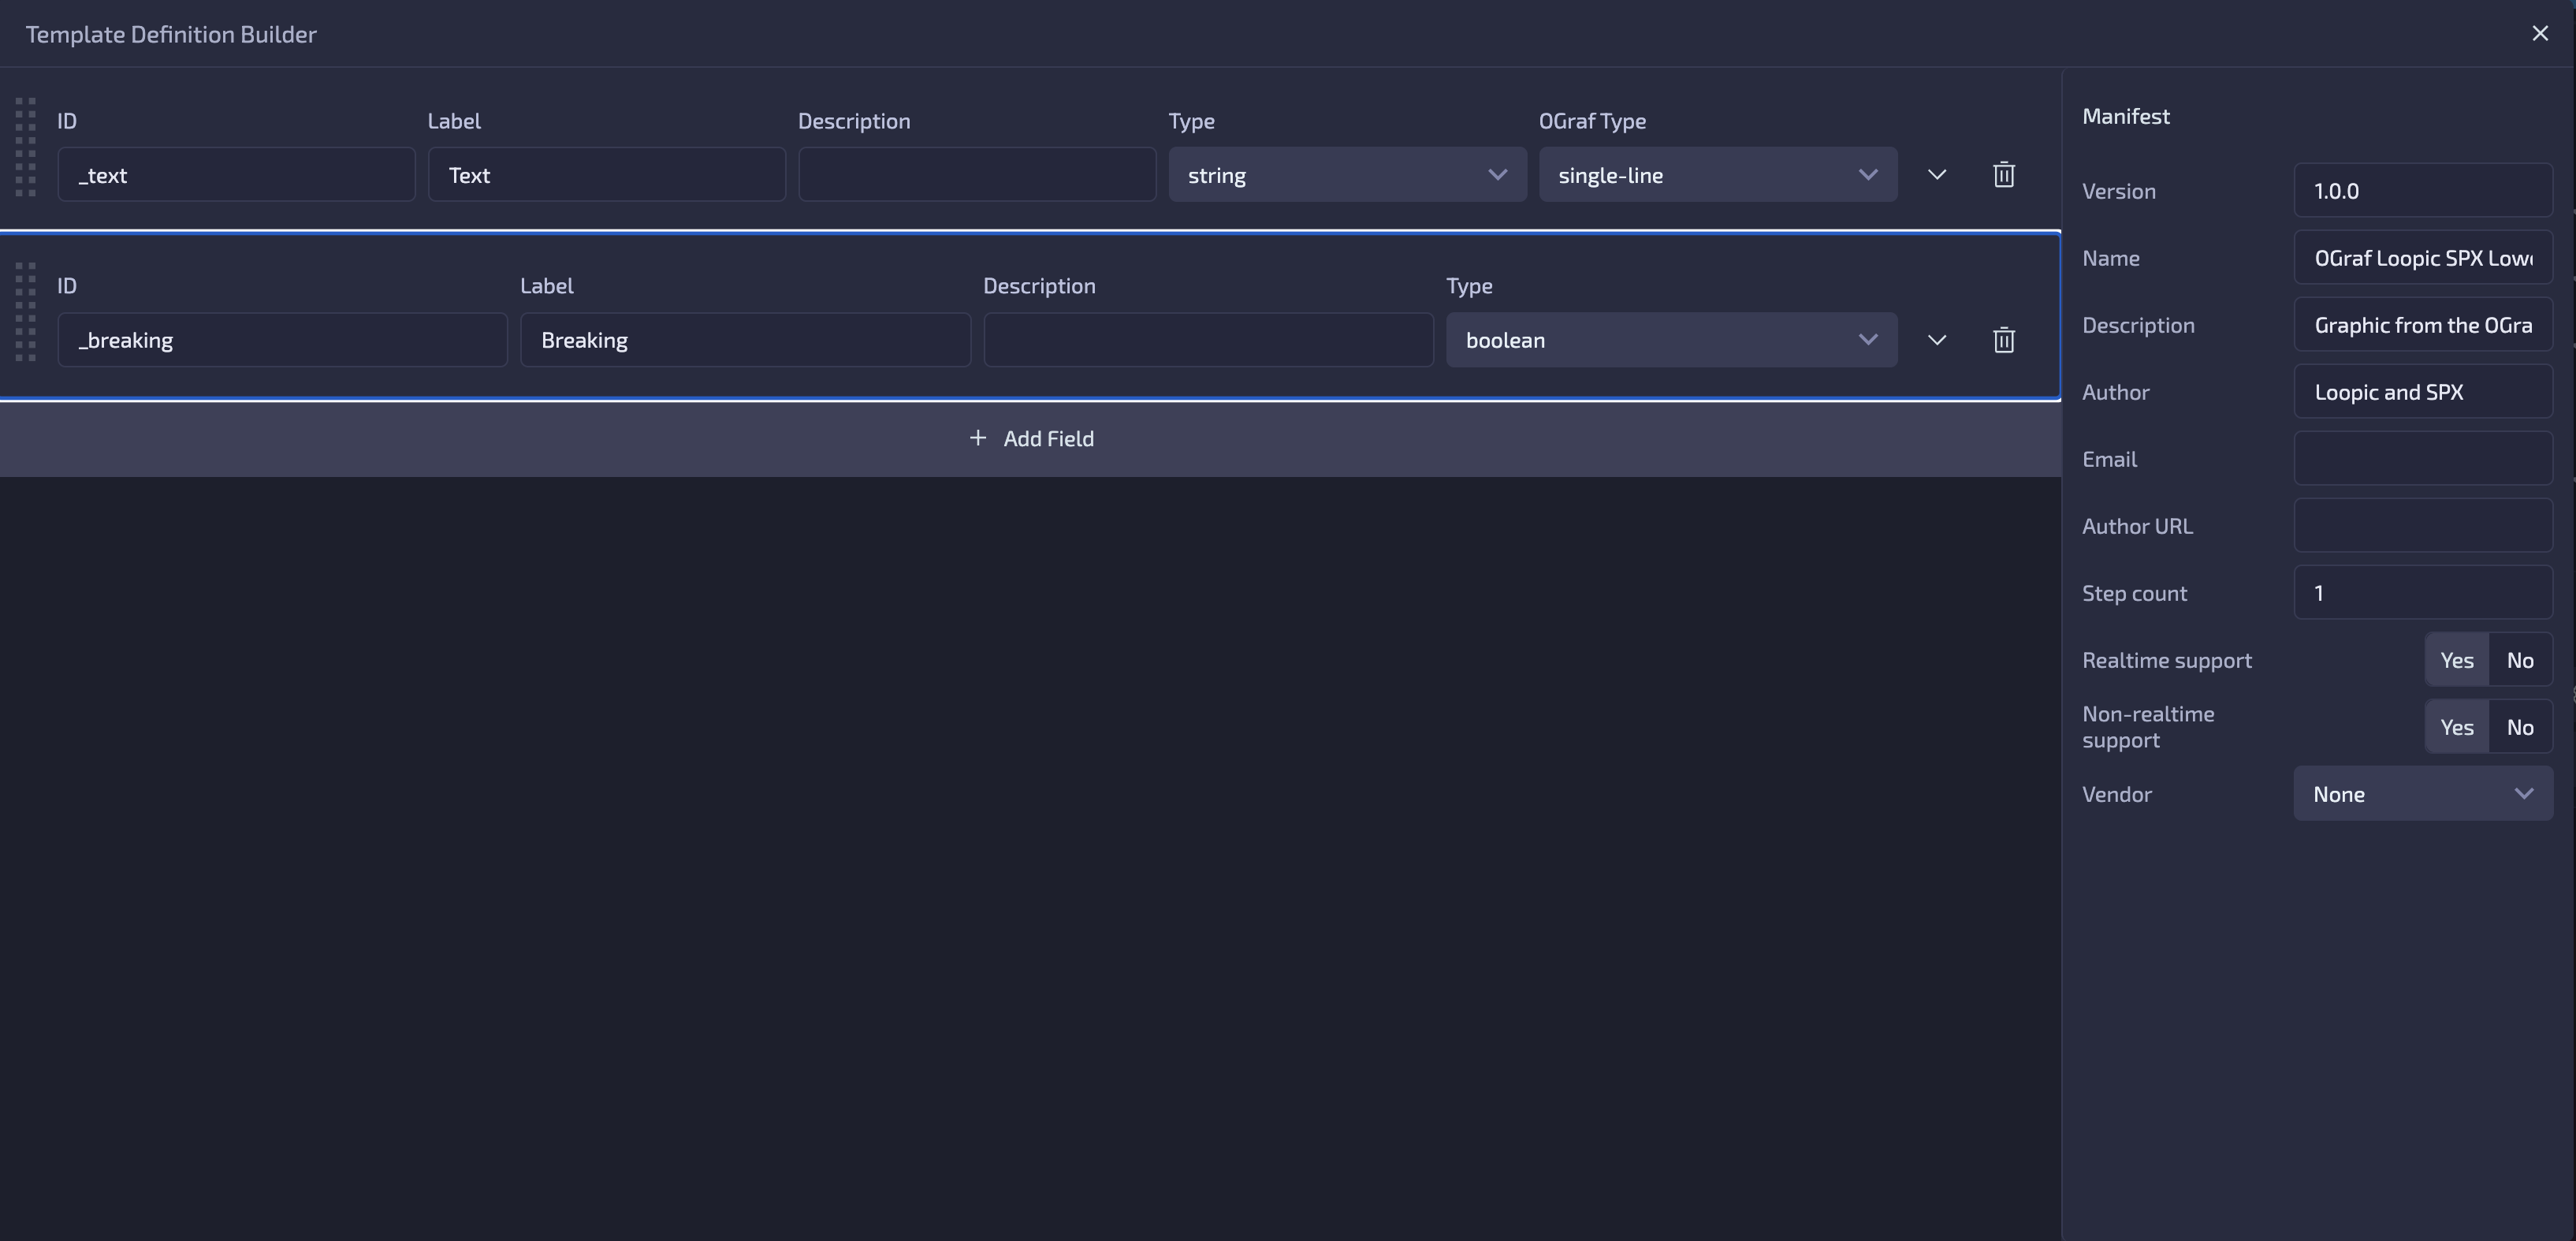
Fields describe the data your graphic accepts. For example, a lower third with an editable headline and a "breaking news" switch needs two fields: a text field for the headline and a boolean field for the switch.
Click + Add Field to add a field. Drag a field by its handle on the left to reorder it, or click the trash icon to delete it.
The columns of each field depend on the target system:
- OGraf and CasparCG – ID, Label, Description and Type (such as string, number or boolean). String fields also have an OGraf Type or GDD Type that tells the control system which input to show, such as single-line, multi-line, file path or color.
- SPX Graphics – ID, Type (such as textfield, textarea, number, filelist, checkbox or color), Title and Value. Value is the field's default.
- LiveOS – ID, Type, Name, Value and Visible.

Field Properties and Actions
Click the arrow on the right of a field to expand it. An expanded field has up to two tabs:
- Properties – extra settings for the field's type. For example, an OGraf string field has Min Length, Max Length and Pattern. Not every field type has properties, so some fields only show Actions.
- Actions – what your graphic does when it receives data for this field.
Each action reads as a sentence: On element [element] change [Element Property or Style Property] [property] to received value. For example, "On element _text change Element Property Content to received value" puts the received text into the _text element. Click + Add to add more actions to the same field, for example to update a text and its color at once.
Note: Only elements with a key appear in the element dropdown. See Finding Elements for how keys work.

Field IDs
The field ID is the name the control system uses when it sends data for that field. SPX Graphics and LiveOS mark the ID as optional, and in most cases you can leave it empty there, because the field's actions already say which elements to update.
Set an ID when you write your own code that should run when the graphic receives data for a field, since you need the ID to listen for it. For an example, see the Crawler demo project.